Committing the entire stencil to skin using a 3 or 5 round seems a natural enough way to begin a tattoo. Nearly all of us begin our careers being taught the basic assumption that we have to outline a design first before we can get on with the more exciting parts, and many tattooists simply never question that assumption.
Many tattooists are now challenging this basic idea, instead laying the stencil and then going straight in with a magnum. Some are finding that this works not only for soft and out-of-focus effects, but for precise detail as well. A few tattooists are known for doing realistic portraits without anything except for a magnum. Working this way, a tattoo can be approached in terms of forms and edges, rather than lines (remember, in photos of real life, there are no outlines!) Using this one needle group, sharp and soft edges can be applied almost simultaneously.
Although the magnum is an extremely versatile tool, there are some things that are better done with a small round, such as sharp lines. Fine-tuning of arcs and details can be tricky to do with a magnum, which can seem big and cumbersome at times. In addition, there is a limit to how sharp a line or edge can be made with a magnum; a small round group is more controllable and its points are closer together, making it more ideal for honing precise edges. Typically, edges sharpened with a small round will heal cleaner and richer than those done with a magnum alone.
 With most projects I like to work interchangeably between the magnum and the small rounds. These days, I commit my stencil to skin partly with a magnum, partly with a 3 or 5 round, switching back and forth between machines as many as five or six times before finishing the first pass over the stencil, depending on the needs of each part of the piece. By the end of the first pass the soft edges are soft, the sharp edges are sharp, the lines are crisp and bold and important small details are in place. Take a look at Video Clip 5: Starting a Tattoo With a Magnum for some examples of this type of tattoo application.
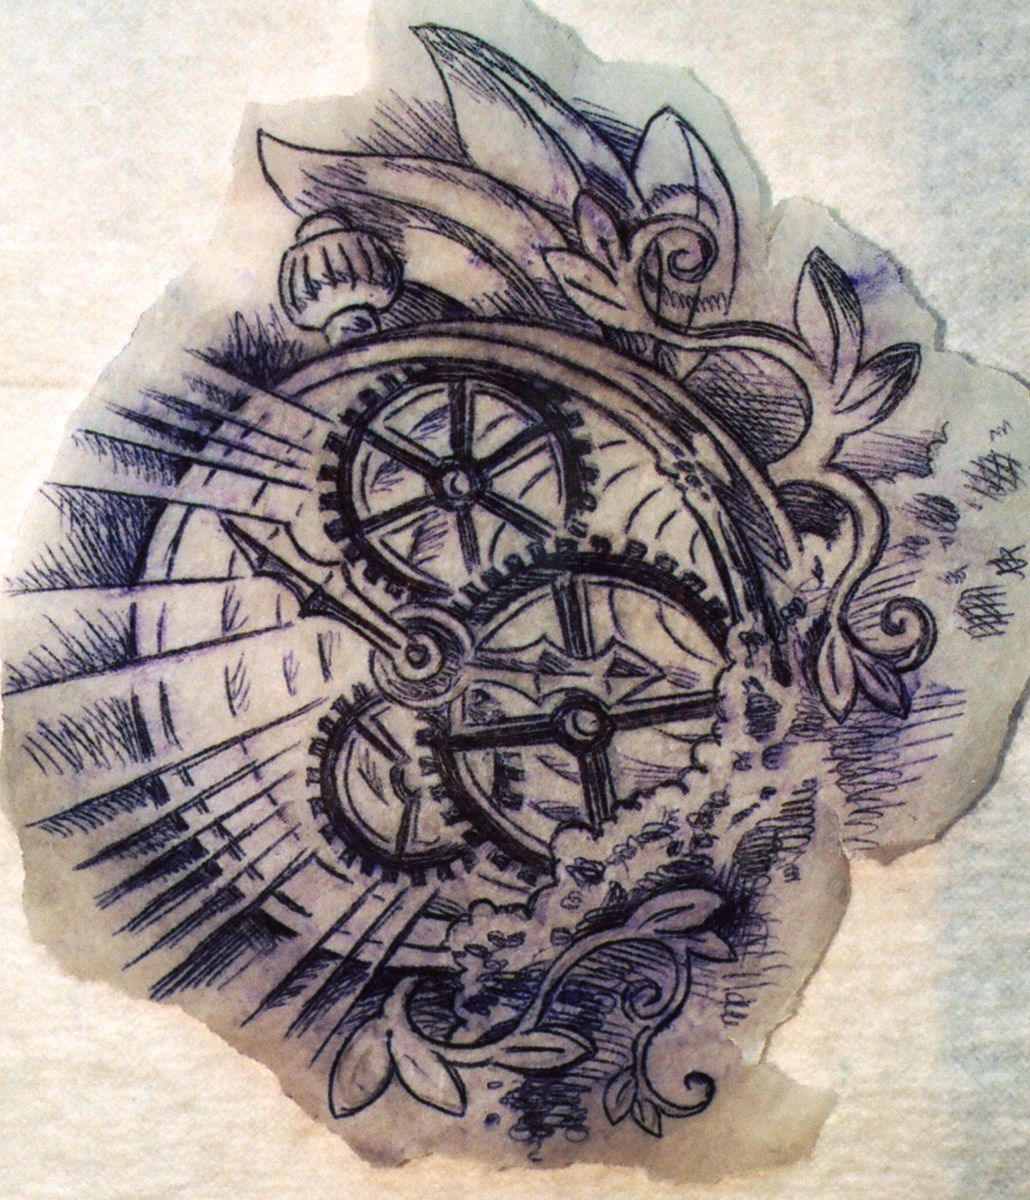
Working this way can be easier using stencils that are different from the standard linear stencil by showing not only lines, but positive and negative areas as well (Fig. 77a). These shaded areas are included in a stencil mainly in places where the intention is to begin magnum first. Crosshatch shading works well for stencils because it transfers to the skin nicely without becoming a big purple blur (Fig. 78a) and holds up clearly while tattooing.
Join the discussion in the forum.